
Build a Hard drive clockPart 3 in
|
By Christoffer J├ā┬żrn├ā┬źker |
 If I say ‘Hard drive clock’ then you’re going to say ‘What’s new about that – it’s been done a million times’. Yes – but not like this! A normal hard drive clock would be using the disc as background plus the regular hands for hours and minutes, or you could lift the lid of the hard drive and drill a hole all the way through engine and all (kind of) and then mount the regular hands. Boooring! My goal – a wall clock that only shows pieces from hard drives. No plastic hands here please. Thanks Joe and Curt for the idea! |
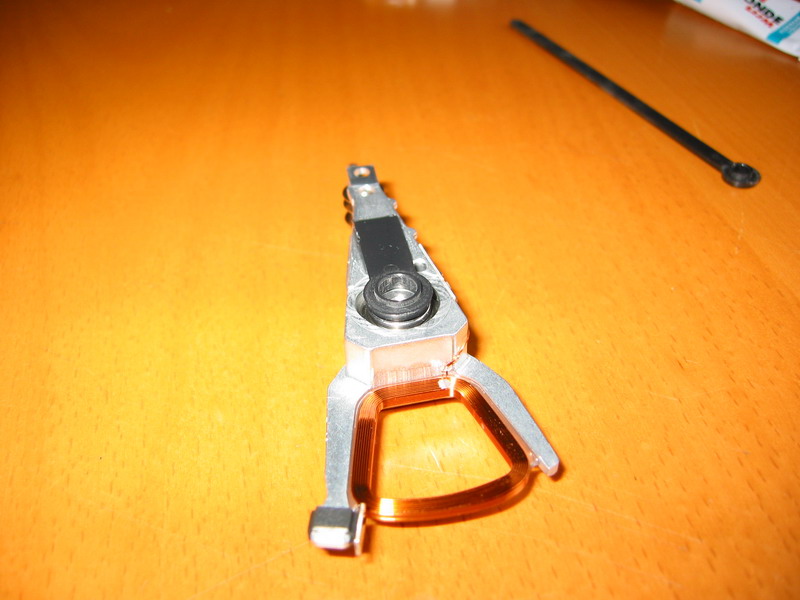
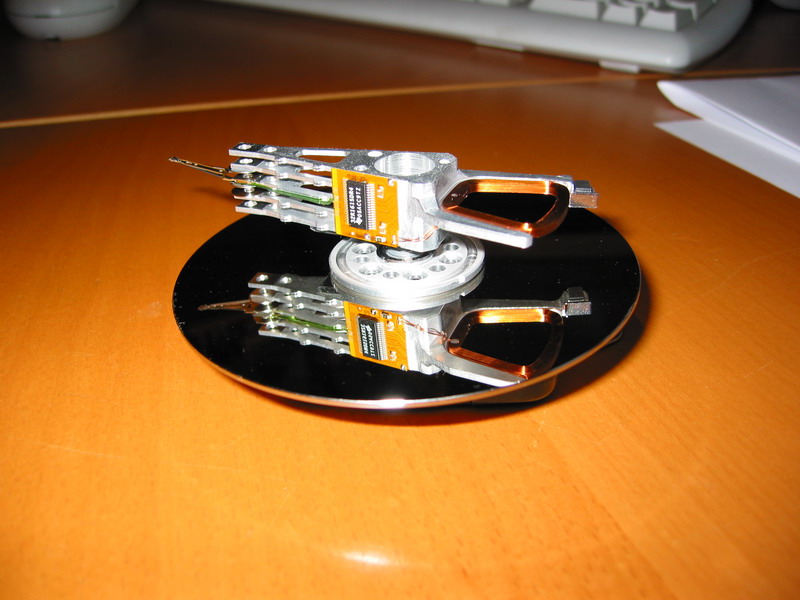
 Well, with the wonderful bearings in the arms to the heads it shouldn’t be too difficult use the arms as the hands of the clock. So let’s do this! After taking out two heads I noticed that they’re from two different hardware revisions. One is for three discs and the other is for 4 as you can see on the picture.. I think that will only be cool that they look slightly different. Needless to say you will need to be careful when handling the heads as the tip will be damaged easily. Cut off the excessive cable piece but be careful so that you don’t damage the wires that go out to the head – it might stop working you know… |
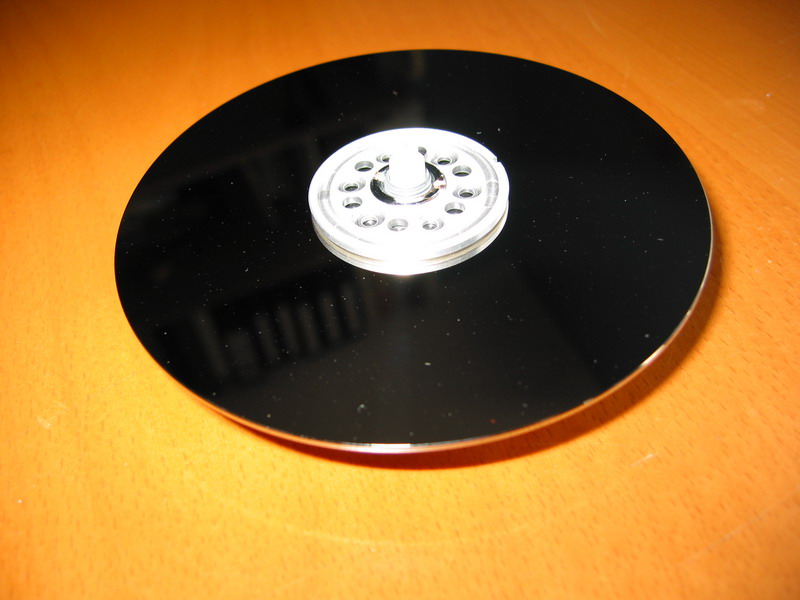 I got the clock mechanism from a old clock that I even forgot I had, even though it was hanging in my office. The ring that attaches the ‘item’ to the clock is very small as you can see on the picture. The discs hole is a lot bigger and what better to fill the gap then the original ring that holds down the discs in the hard drive? It’s a bit tricky to centre it but with a bit of patience you’ll manage just fine. |
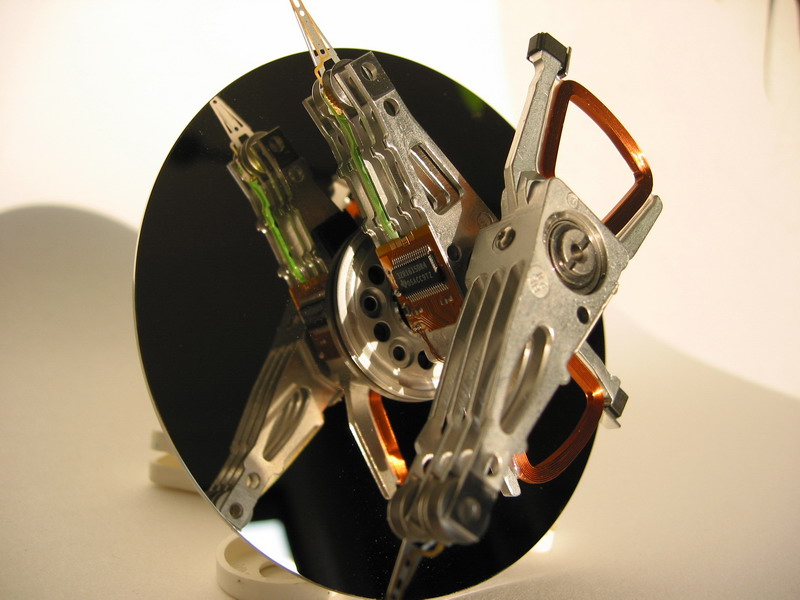
 The head for four discs has a nice smooth bottom which was very suitable to glue the hour hand on. It’s important to use the upper or lower side depending on what looks best from above, we want to see as much of the electronics from the viewing angle and as this arm only has one head for the lower side of the disc. What we want to do here is to let the hour hand be fixed to the arm and then attach the minute hand through the hole and attach it to the inner side of the bearing. The inner side of the bearing will then be attached to the bearing of the minute hand arm. Leave the bearing in place as this makes it so much easier to centre the hour hand when gluing, but don’t glue to hand to bearing. |
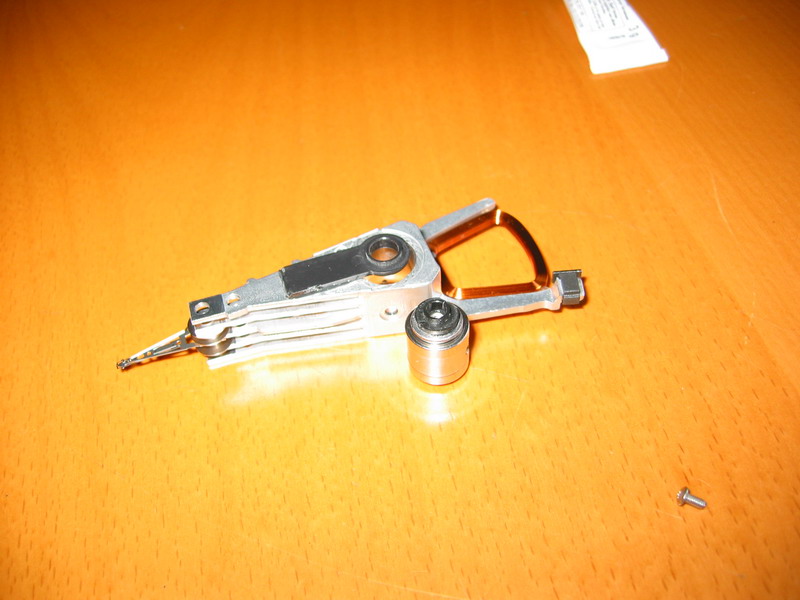 Now take out the bearing and cut out the centre of the minute hand and glue it into place. And oh, forgot to tell you – I’m using super glue when gluing this. Works very well but you have to be quick when putting the details into place as it dries in about 2-3 seconds. |
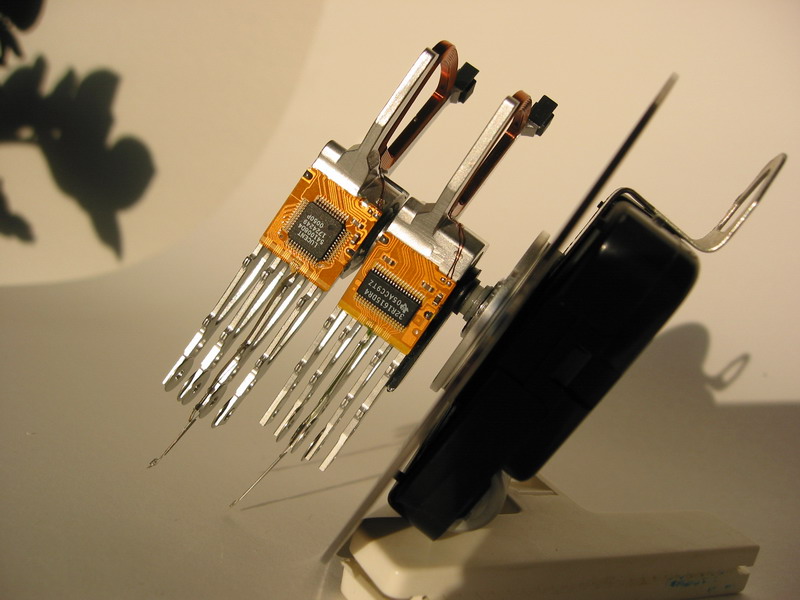
 The best way of attaching the two bearings together is of course to use a bolt in-between them, but the problem I got into here is that the upper thread is metric and the bottom one is UNC. The solution of course is glue. We can’t use superglue here as we’re gluing stainless steel to stainless steel so here I’m using a two component epoxy. First I screwed a screw into the upper part and then cut off the head. |
 Then I smeared the epoxy in a thin layer on the bottom of the minute bearing and inside the threads of it. It really has to be thin as you only want to lock the upper bearing (so that it can’t rotate) but don’t get anything between the inner and outer part of the hour bearing. |
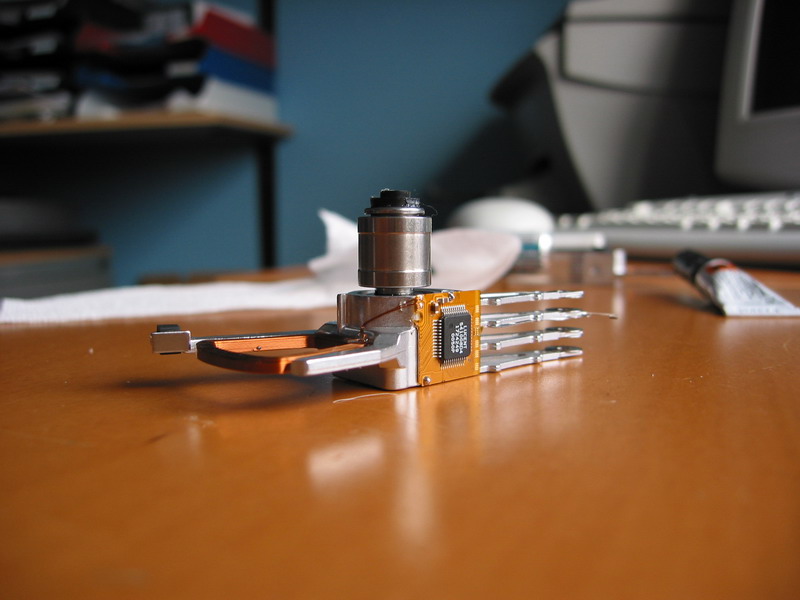
 After allowing everything to dry for an hour or so I mounted the two head arm hands (!) and man does it look cool. There’s no need to attach the hour bearing in it’s head. And to answer the question I know I will get – Does it work? Does it fall behind? – Yes! No! The bearings are really smooth and do not provide any resistance at all and as long as everything is properly centred it will work just fine. That basically concludes part 3 and you can see the pictures of the finished clock below. Remember that if you have any more ideas on what to do with 20 hard drives then send me an email at ideas @ grynx.com or drop a comment below. |

|

|
|
|
You must be logged in to post a comment.
Help us continue our work with a donation
 Forum {beta} Forum {beta}Hatch ideas and help others with their ideas. |


18 queries. 0.194 seconds
December 9th, 2005 at 18:54
HOW TO – Build a real hard drive clock
Chris writes in about his his progress on hacking away with 20 hard drives, he writes “In part 3 of “Things to do with 20 hard drives” we take a look on how to build The real hard drive clock, using the arms with heads as hands. Even though this clo…
December 9th, 2005 at 21:26
How about a walking robot. Just use the Arms to cylce around in circles. You can create either a six or four leg model. You could also ad some basic remote control system to it.
If you were really adventerous you could also use two arms and create a joint in each of the legs.
December 11th, 2005 at 17:16
How about using three running hard drives as a clock? With three HDs, each with their own controller and driver software, you could maybe get the arms to tick like second, minute and hour hands.
December 18th, 2005 at 15:59
You can build an computer case
December 19th, 2005 at 6:24
Great idea. Looks 10 times better than simply sticking a few clock hands on it!
December 25th, 2005 at 16:17
J….
Where ya been? Every email address i have for you keeps coming back to me, where u at? Write me, its Cat from Chicago… UIMs ex…..
Cat
March 17th, 2006 at 21:47
The huge hands take away from the good look. You should try to seperate the r/w arms to make them a little thinner!
January 7th, 2007 at 22:47
Do you think a clock mechanism from a hobby store would be strong enough to move those arms?
March 31st, 2007 at 22:52
Is there any way to make the glowing (mountable LED with switch that control light on and off) and the acrylic case to cover and hold the Real Hard Drive Clock in the place.
Any Suggestion?
April 2nd, 2010 at 9:54
You could try using the r/w heads as magnetic field sensor/metal detector!!