
Revive your old remote control |
By Christoffer J├ā┬żrn├ā┬źker |
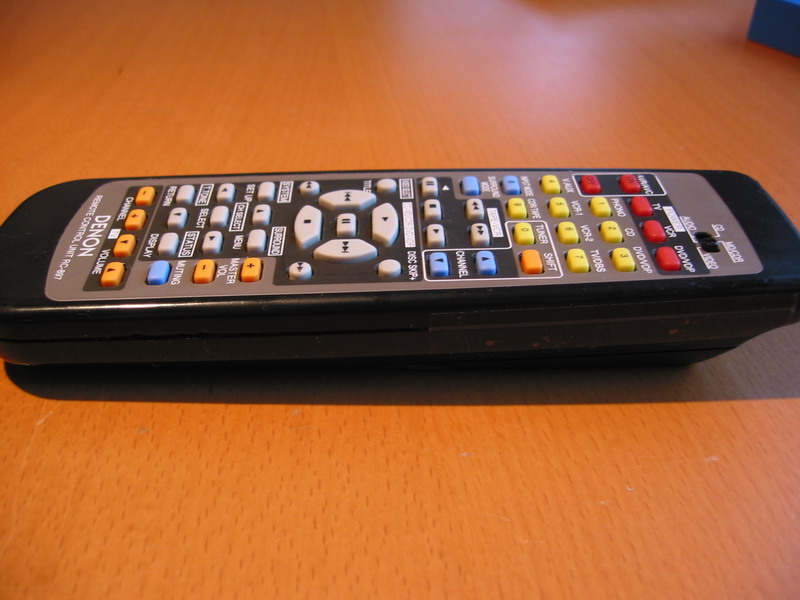
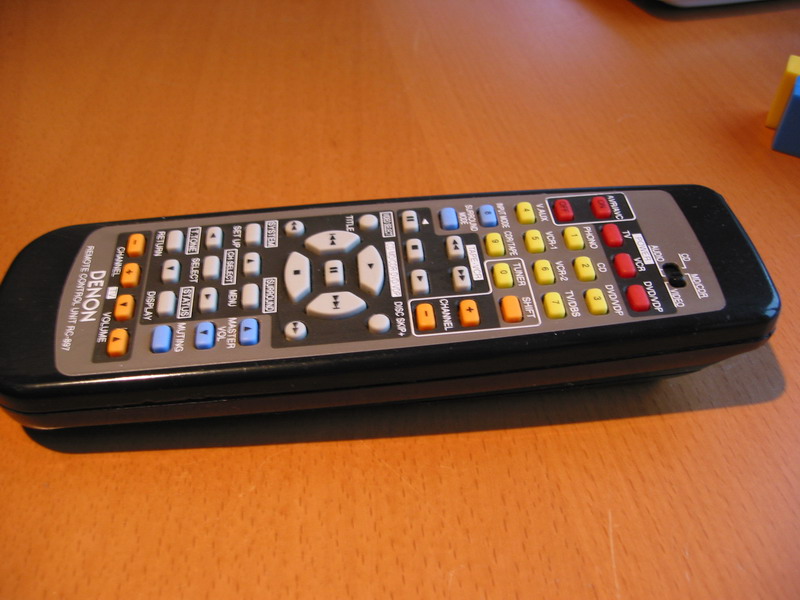 Several years ago I bought a new AV receiver, a Denon AVR-1802. A great receiver by the way with all the bells and whistles that I wanted at the time. Now I actually want more, but that’s off topic. It has served me well, but after about two years the remote started failing on the volume control buttons. Especially the volume up was very tough to get to work and you really had to push the button hard for anything to happen. Well, being the handy-man in the house I opened it up and cleaned both the rubber pieces and the circuit board with chemical gasoline and everything was fine. For about like another year months, then it started to fail again. So I started looking around for a replacement remote control and found that I either had to settle for a generic replacement (which never has the buttons in the right place and usually is less useful then the original) or buy a new original one ( Denon RC-897 ). They have the guts to charge nearly $80 for the original. Plus shipping of course!! |
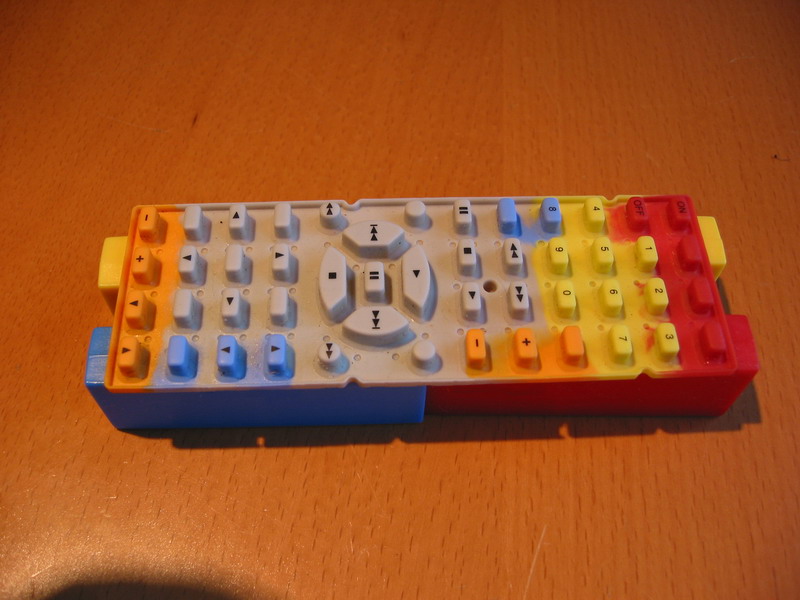 Hell no I would pay that for a remote that the children play with and that would also break down with the same problem. But hey, I never use the tuner buttons on my remote so can’t I just swap places on them? They’re both located on the side have indicators on them that makes sense. Sure volume is arrow up and down, and the tuner is plus and minus, so what. |
 Opening up the remote is no rocket science, in this case it was just a matter of inserting a thin knife in the edge of the remote and it snapped open. Some remotes have one or two screws that hold it together, often hidden under a label or inside the battery compartment, but not in my case. Using the standard kitchen scissors I cut them out trying to make them exactly the same size. It was actually a funny feeling to cut this material, it felt like cutting frozen butter or something. |
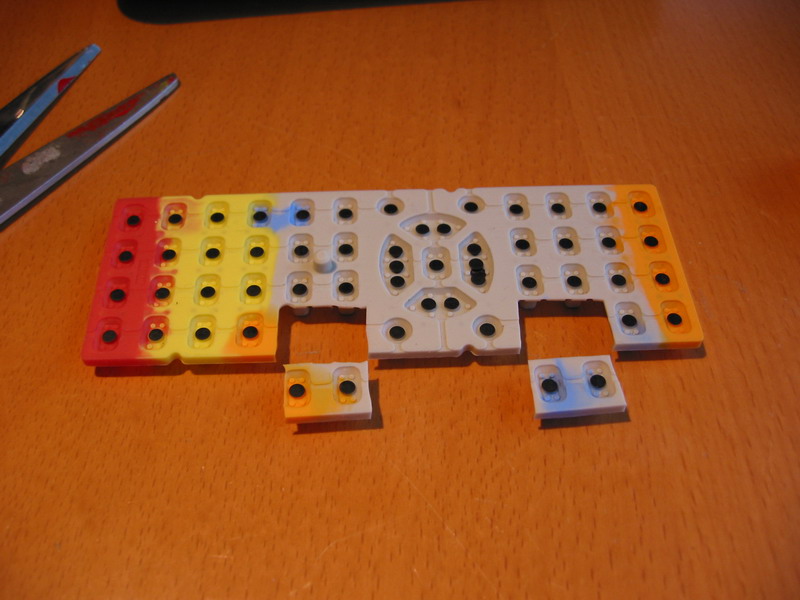
 As you can see I didn’t manage to cut them out in the same size and I had to trim the edges for them to slide in smoothly. No worries as the top of the remote control aligns the buttons through the holes. |
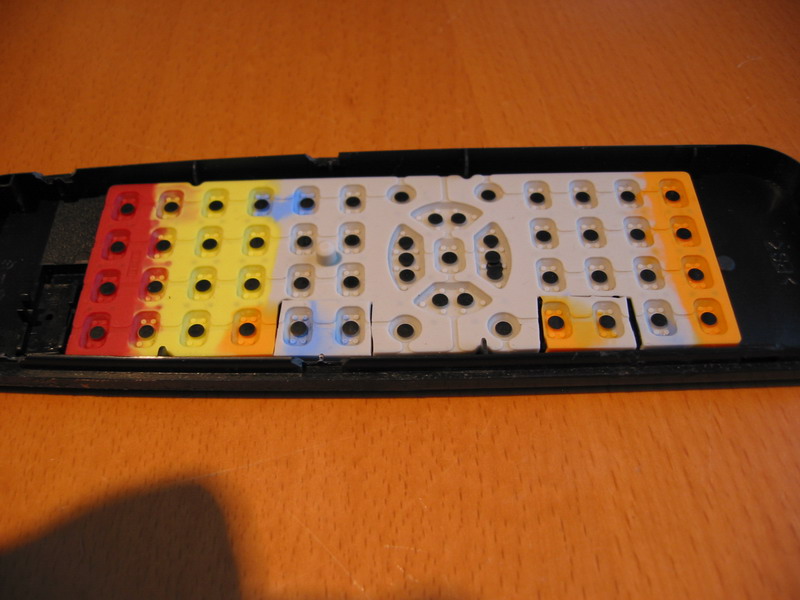
 And voila! here’s the revived remote control. Sure it looks a bit inconsistent with the colours of the buttons, but I just saved a bit below $100 bucks on this so I think I can live with it. As I took the remote control apart with force I had to put some scotch tape on the sides to keep it together as the plastic locks inside snapped off. But if you use a thin see-through tape and be careful when you apply it then you don’t really see it. I just need to keep my children from peeling it off 
Conclusion: And as always – if you try this out yourself, then take before during and after photos and send to me. |
You must be logged in to post a comment.
Help us continue our work with a donation
 Forum {beta} Forum {beta}Hatch ideas and help others with their ideas. |


18 queries. 0.085 seconds
November 28th, 2005 at 17:11
HOW TO – Revive your old remote
Chris writes “Remote controls are a consumption product. They fall in the floor, the get coffee spilled over them, the get stepped on (maybe not..) – and they wear out. In this how-to we will show you how to revive your remote by swapping the buttons …
November 28th, 2005 at 22:14
Tape some aluminum foils under the buttons(where the conductive rubber is) also works. I think it’s even featured in the MAKE magazine once.
November 29th, 2005 at 6:12
MCM offers re-carboning kits for worn out buttons. It’s just a little swab and some carbon like paint.
http://www.mcminone.com
November 30th, 2005 at 7:29
Culito, do you have an exact link for those re-carboning kits? I can’t seem to find it
December 3rd, 2005 at 3:30
Stumbled upon this page from Make magazine.
My replacement remote had dead buttons like this (generic remote with 5×11 buttons, all the same shape).
Just needed to open it up and rotate the rubber pad 180 degrees, swapping the dead buttons with rarely used ones.
Thanks for the tip…
December 4th, 2005 at 8:20
http://www.webelectricmagazine.com/00/3/buttons.htm
April 1st, 2006 at 22:38
I had exactly the same problem with exactly the same model receiver. Volume buttons failed in 2 years..
It seems it is a common problem with this receiver. Just ordered a repair kit to fix the conducting ink
behind the buttons.
February 21st, 2007 at 10:08
Swapping out the buttons by the cutting method worked perfectly on this Denon RC-897. I had the same problem with the on and off buttons, but cleaned them with rubber cement thinner and now they work well.
Thanks for the tip.
April 10th, 2007 at 12:56
I just used a pencil and it works well. Not sure how long it’ll last though.
November 30th, 2007 at 12:19
Thank you from France Chris as i had the same problem since 3 years, and have solved just now through your genial solution

Many thanks !!!!
Antoine
November 30th, 2007 at 12:19
Thank you from France Chris as i had the same problem since 3 years, and have solved just now through your genial solution

Many thanks !!!!
Antoine
February 4th, 2008 at 3:41
Thank you for the heads up man! I’m do this to all my controllers now. I have a portable DVD player remote has bubble hard plastic buttons ma by I should work a tut for fixing one of them like new,
July 27th, 2008 at 15:48
Thank You……I had the EXACT same problem and also refused to pay the $65+ for a new remote. Your solution worked PERFECTLY!
February 9th, 2009 at 15:54
I’ve had RCA remotes since 1992 that ooze a fluid (probably mold release or some silicone) from the conductive keypads. Cleaning with alcohol works initially but fails after several cleanings.
I compared the resistance of the bad pads to the good ones and found the bad pads had much higher resistance causing the bad contact. My next attempt was metal furnace tape, but it did not stick. Then I tried 150 grit sandpaper – low and behold IT WORKED!
About three swipes vertically and three horizontally lowered the
resistance and the remote now works like new. I don’t know how long this will last but will clean and sand when it fails again.