
Build a Hard drive storage boxPart 2 in
|
By Christoffer J├ā┬żrn├ā┬źker |
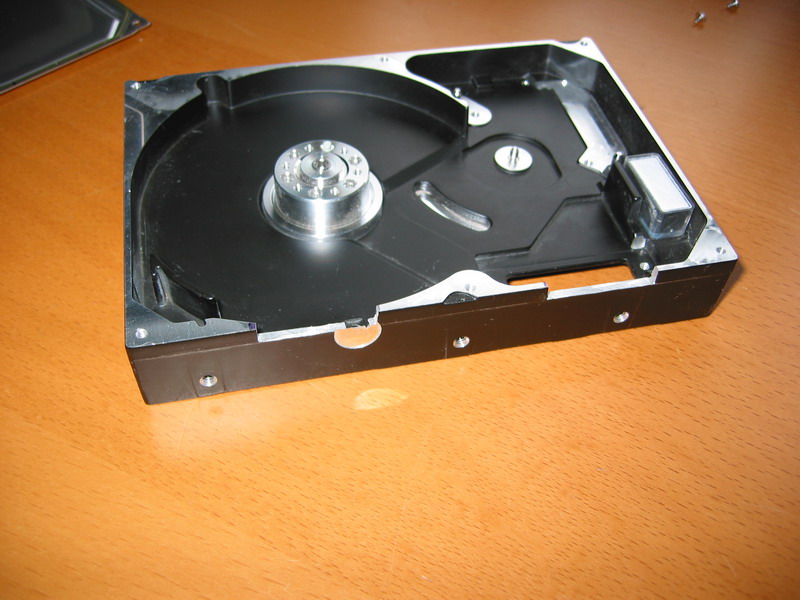
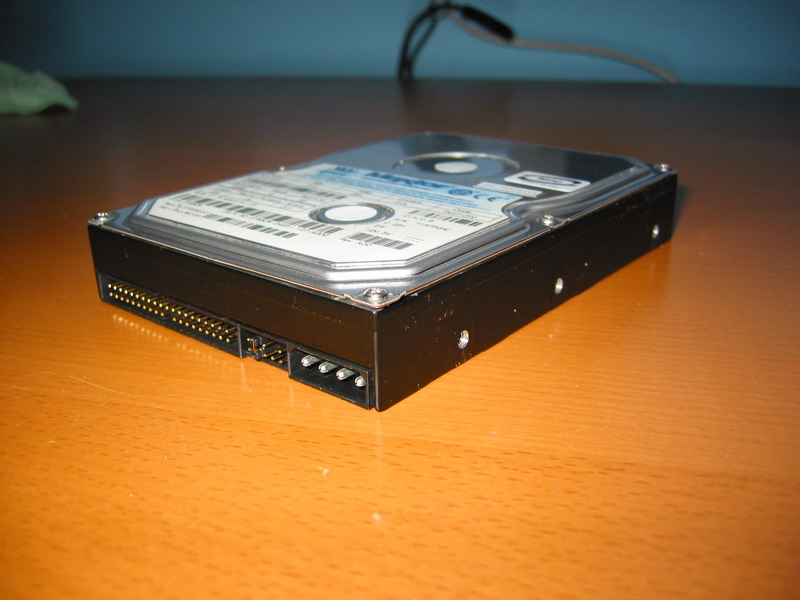
 In part 1 we took took the first step in making things with the hard drive. I thought that we start off with a unique storage space for your small parts like screws and jumpers. I used to store this in an old paper floppy case which was kind of cool as it was from the time when the 720kb floppies were high-tech. The benefit with this case is that it’s wide and not that high so that you get a good overview of what you have. If your wife/girlfriend is in to it (fat chance!) then it could be used as an case for her jewellery. Or you can use it as a key cabinet in the hallway. The goal is to make the finished box look exactly like a real hard drive. |
 The easy way in doing this would be to use some silver tape on one edge and then it would be done. The best was would be to mount hinges and screw them into place, but we’re going to do a middle way with super glue. We’re going to mount two hinges with one end on the inside of the lid and the other side on the outside of the hard drive. I’d rather have them on the inside and I actually tried that but couldn’t get that to work. Imagine that you have one part of the hinge on the outside and then cut out some space for the middle part to slide in. When you hold it into position and flip the inner one up then it should be levelled with the top of the bottom case. |
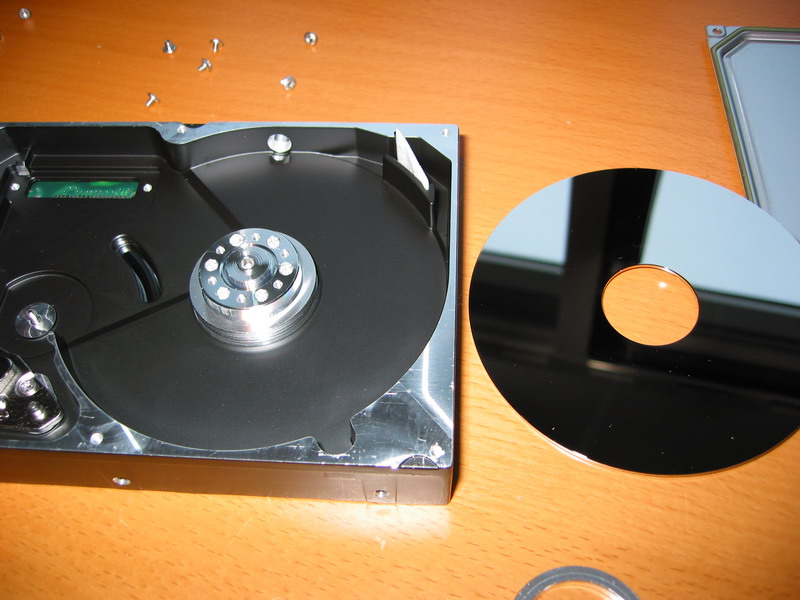
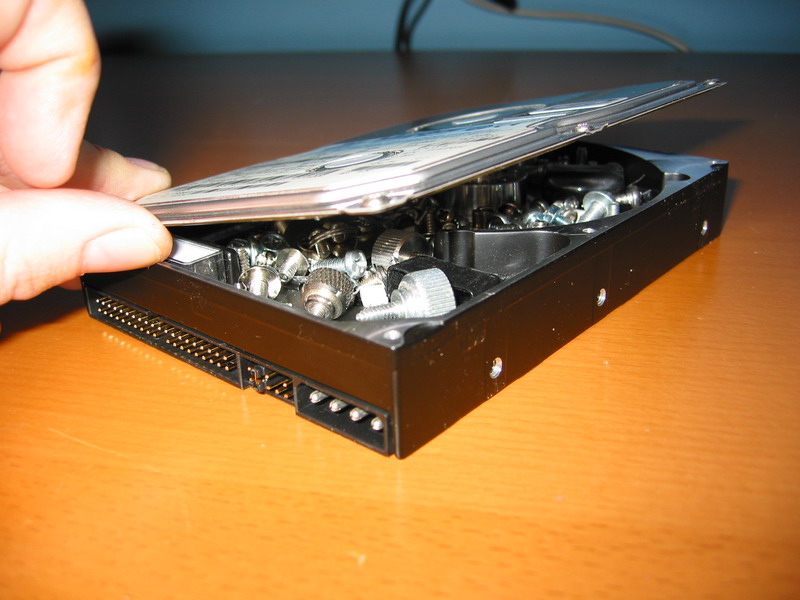
 Now you need to put the lid upside down and place the hard drive on top of it as in the picture. Mark where the holes meet the gasket and then cut that piece of the gasket out. |
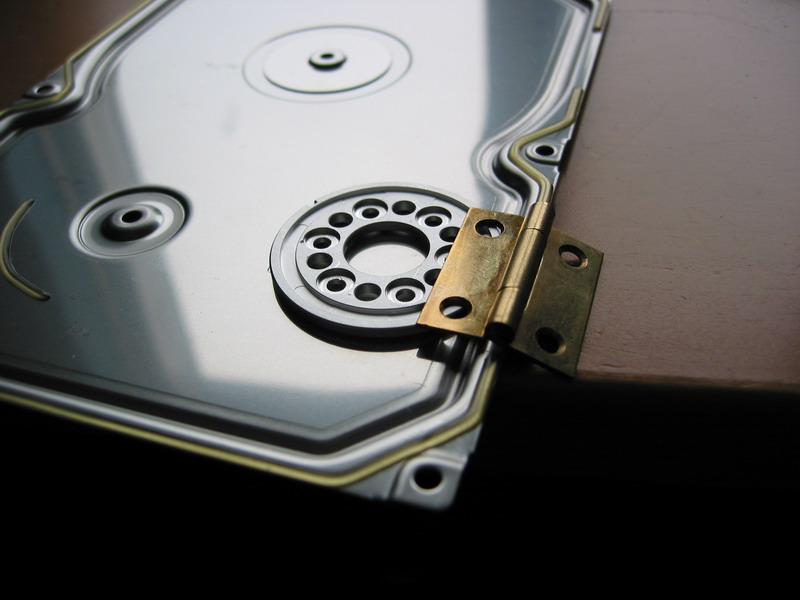 The lid is not exactly flat which creates a bit of a problem when mounting the hinge. Luckily I saw that the ring that holds down the hard drive platters just happen to be the same thickness that I needed. It’s just cool to reuse some parts to stay in-theme. What a shame though that the hinges are in brass, I’d rather had them in chrome. |
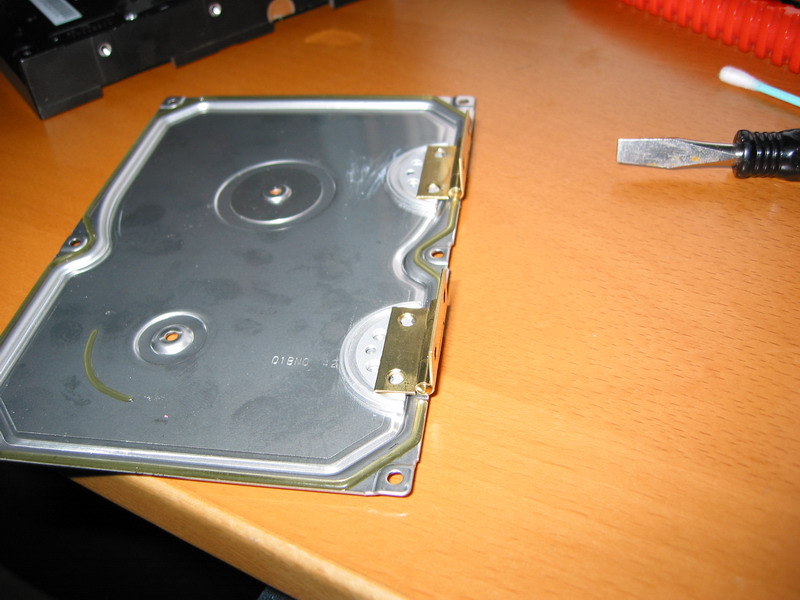 After cutting the ring in half I cleaned it with chemical gasoline. Plain and simple, if you don’t clean away the fat (from your fingers) then the super glue won’t attach when gluing steel to steel. You won’t have this problem with epoxy or regular glue but as super glue dries so fast I went for that. It’s also completely transparent which is nice. First glue the two rings and let them dry for 5 minutes and then mount the hinges. They need to be aligned so that the inside of the flipping part is aligned with the outside of the lid. It’s not clearly visible on the picture but you get the idea. |
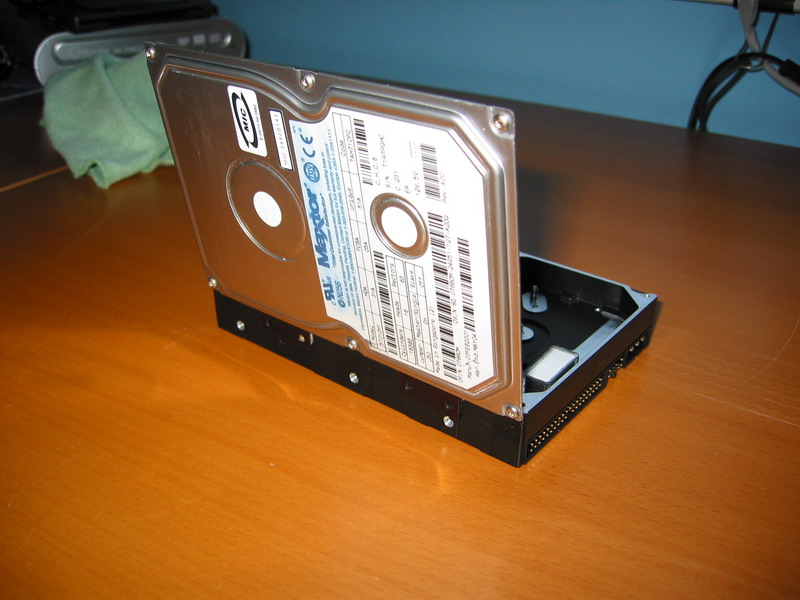
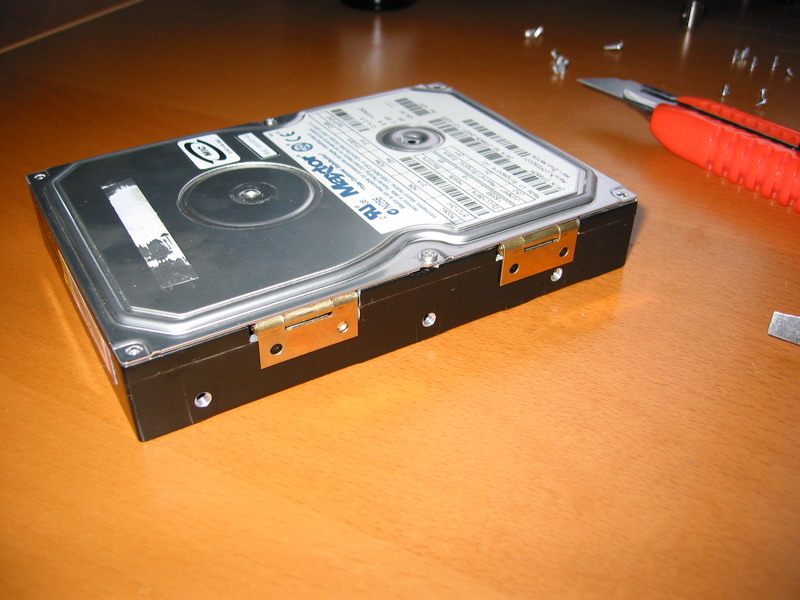 If everything is properly aligned then you will have this. You should fix the lid into place with two screws before start gluing the hinges on the outside. This will ensure that it’s completely centred when finished. |
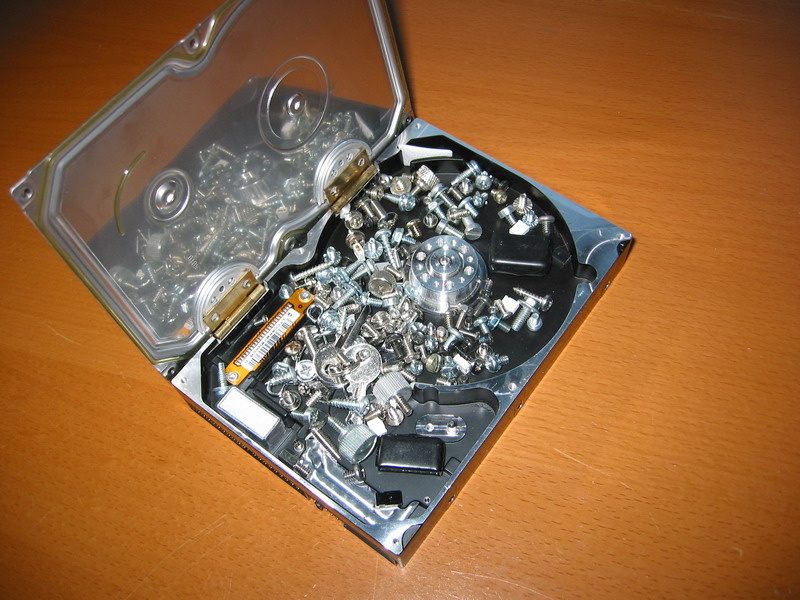
 As we want to make this hard drive look real when finished we need to have some fake screws. Well, what is better then using the original screws? I mounted them on a old hard drive and screwed them in a couple of turns. Then by holding the screw with a Torx screwdriver I cut the head off with the Dremel. The screws should look like this when finished. |
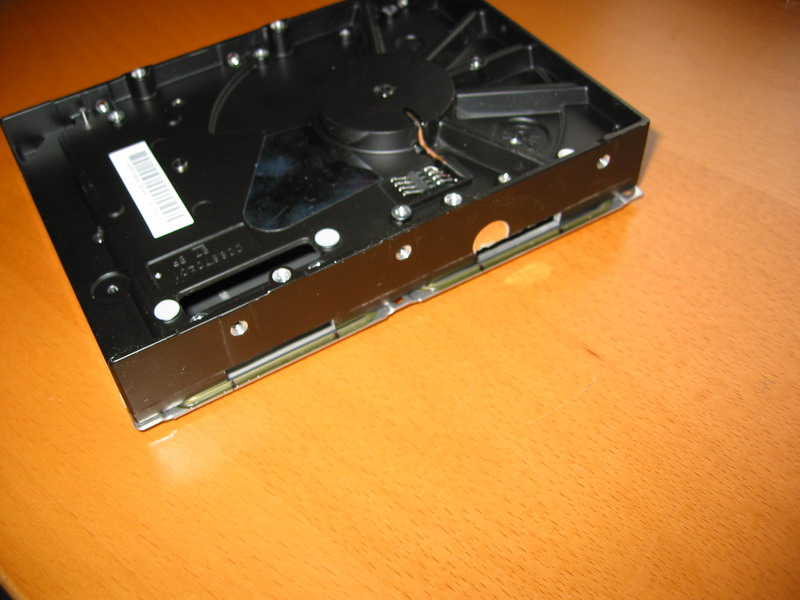
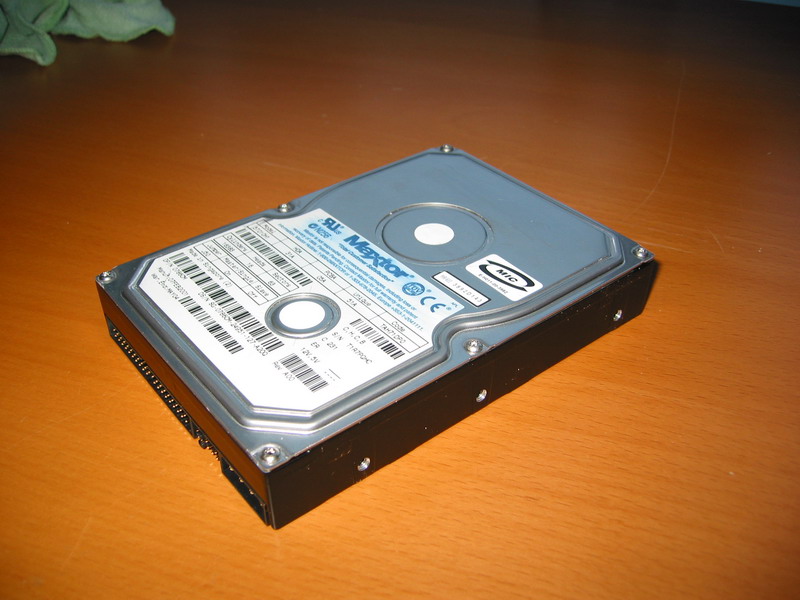 After gluing the screws into place I took two white stickers from another drive and mounted over the two holes in the centre. Then removing some old glue from a sticker with acetone and polishing it in general. And of course I painted the hinges on the outside using a black permanent marker. You see them if you look directly at them but most people won’t see it as it’s on the backside of the box. And what hard drive is complete without the controller card? None, so I mounted that into place also. |
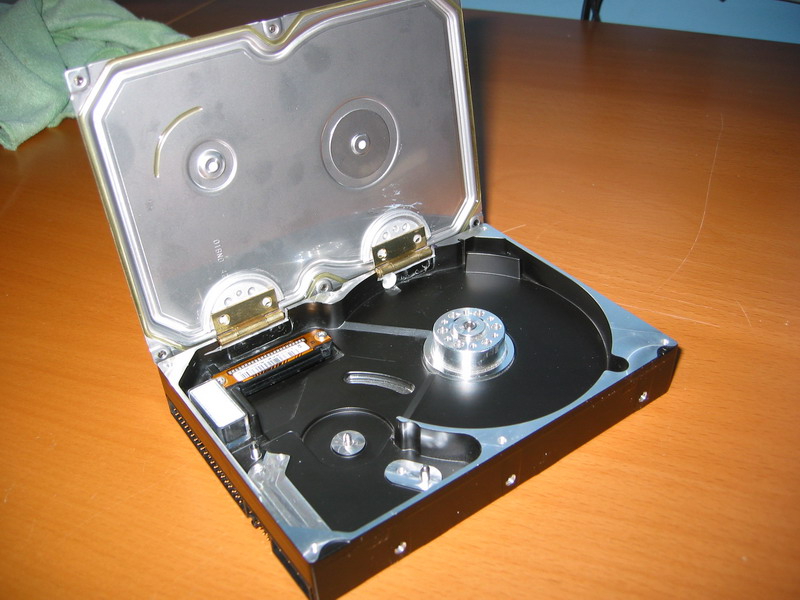 As you can see I also mounted the connector for the heads into place after cutting the cable off. Not only does it prevent screws falling down on the controller but it gives a nice finishing touch also. Well that about wraps it up. |
 |
 |
 |
 |
|
 |
You must be logged in to post a comment.
Help us continue our work with a donation
 Forum {beta} Forum {beta}Hatch ideas and help others with their ideas. |


18 queries. 0.088 seconds
December 8th, 2005 at 17:53
Hey, great idea and execution! I have a buttload of old HDs (at least 35-40 of them) and knew I was saving them for a reason (aside from OCD). I also have a couple of old 5 MB HDs that are HUGE and weigh about 10 pounds. I’m thinking supersized storage box!
October 11th, 2006 at 15:28
Hey, good idea, but can it hold a lot of bolts and screws